In the account settings, you are able to set up some default settings for your environment. This facilitates the use of the platform.
IN THIS ARTICLE
1. How to get there
NOTE
Account settings are only accessible by administrators.
At the top right corner of your screen, you will see your user name. If you click on this, it will trigger a dropdown in which account settings and profile can be chosen.

2. Account settings
Account settings are mainly important to facilitate the set-up of your environment and to customize it to your needs.
2a. Language
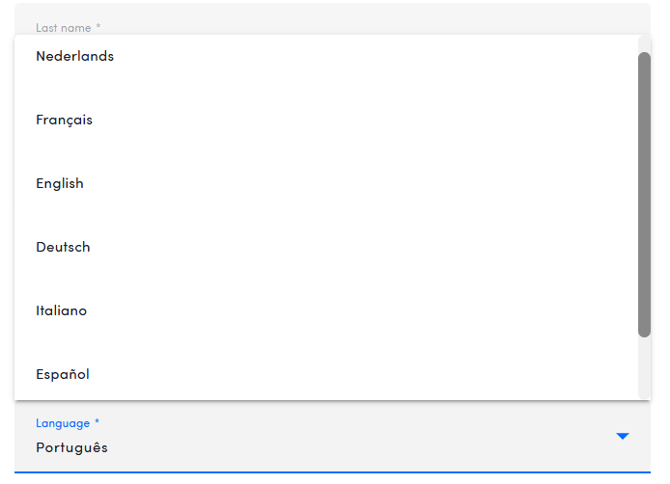
If you create a new user, they will automatically get the default language chosen in your account settings. We support 7 languages in which the platform is available:
- English
- French
- Dutch
- German
- Italian
- Spanish
- Portuguese

Of course, you can still add users in the other platform language by simply changing the language while setting up a user. Users can also update their preferred language in their profile.
2b. MFA Policy
With MFA or Multi-Factor Authentication you add an extra layer of protection on top of your password. Once enabled, signing in to Hello Customer requires both your password and a one-time code from your authenticator app, so an exposed password alone is no longer enough to access an account.
There are several options:
- Don't require MFA
MFA is not enforced for any users. All users can login using their email address and password. This is the default setting for your environment. - Require MFA for admins
MFA is enforced for admin users only. Regular users will still be able to login using their email address and password, while admins will need to do the 2-step process. - Require MFA for all users
MFA is enforced for every user in the environment. All users will need to do the 2-step process to login. - Require MFA for individual users
MFA is enforced per user and controlled via the MFA toggle on the create/edit user screen.
Learn more about MFA on our dedicated page.
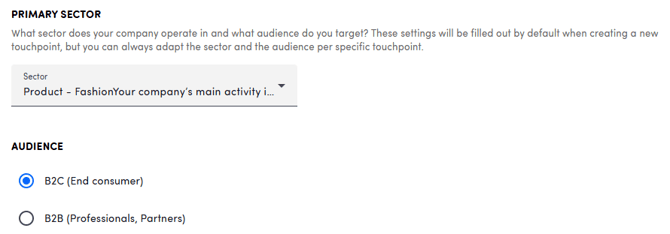
2c. Primary sector
By selecting a default sector (which defines your type of business and the products or services you offer) and a default audience, these fields will be prefilled each time you set up a new touchpoint, which can always be adapted if needed. Choosing them correctly is essential to get the most accurate text analysis.
For every primary sector, we provide a ready-made taxonomy so ISAAC is tailored to your specific context. You can find the list of available taxonomies here.
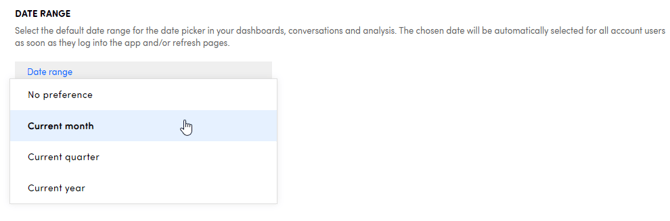
2d. Date range
The default date range has an impact on the date picker in the platform. Each time a user logs in, the default date range will be selected.
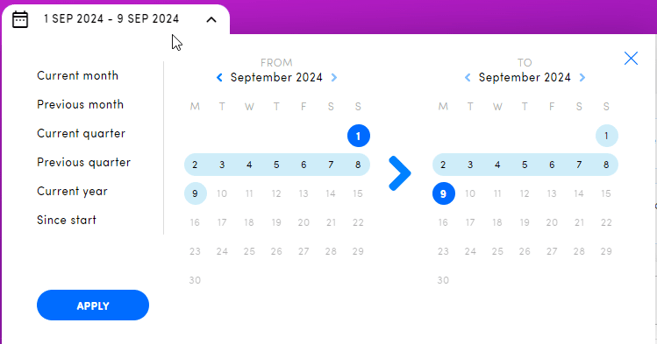
In case you choose "no preference", the date picker will remember the last default period available in the date picker the user chose. For example:
- User goes to touchpoint and chooses "current month" in the date picker.
- User changes date range in the date picker to a custom period, e.g. 1/1/2025 - 5/2/2025.
- User opens the platform again the next day and goes to a touchpoint. When opening the date picker, "current month" is selected, since this is the last default period that was chosen in the date picker.
The default periods in the date picker are:
- Current month
- Previous month
- Current quarter
- Previous quarter
- Current year
- Previous year
- Since start
2e. Date picker: answer date vs interaction date
Choose whether the date picker in the platform is based on the answer date or on the interaction date
- If you use the answer date, the date picker is based on the date the participants filled out the survey.
- In case you use the interaction date, the date picker is based on the date the participants had an interaction with your company. This can for example be the date the participant visited the shop, received an e-mail from your company, visited your website etc.

When you want to use the interaction date, there are a few things you need to take into account:
- First of all, ensure that the interaction date is included as metadata in your survey.
- For ask anywhere touchpoints, you can include this metadata in the URL or use a date picker question to ask when they visited the shop.
- For e-mail touchpoints, you need to include this information in your upload file or in the API call used to add participants to the platform.
- For website touchpoints, you can include the metadata in the integration code or make use of the date picker question.
-
Next, make sure that you tell our system which metadata key contains the interaction date. Go to Settings > Participant attributes and map the correct metadata key as standard type "Date interaction". Learn all about turning dumb metadata into smart participant attributes here.
Good to know:
- If there is no date interaction available for an answer, the answer date will still be used to show this answer in the platform.
- The e-mail stats and team ranking within e-mail touchpoints are always based on the date the e-mail was sent. The setting answer vs. interaction date does not impact this.
2f. Evolution on the homepage
Customize the evolution per touchpoint shown on the homepage.

You can configure a base period and a comparison period.

- Base period: start of the chosen period until today
- Current month
- Current quarter: Q1 (January - March), Q2 (April - June), Q3 (July - September), Q4 (October - December)
- Current semester: Semester 1 (January - June), Semester 2 (July - December)
- Current year
- Comparison period: depending on the base period, you can choose to which period you compare. The full period is shown so you know what the goal to reach is.
- Current month
- Previous month
- Same month previous year
- Current quarter
- Previous quarter
- Same quarter previous year
- Current semester
- Previous semester
- Same semester previous year
- Current year
- Previous year
- Current month
Good to know: it is possible to hide the evolution for certain touchpoints directly on the homepage by clicking the eye icon next to the evolution. Be aware that only administrators can change this while this impacts all users. So if an administrator hides the evolution of a certain touchpoint, no one will be able to see it.

3. Profile
On the profile page, you can see the basic information of your user, and also change the language in which the platform is shown.

Change the language to one out of the seven available ones!